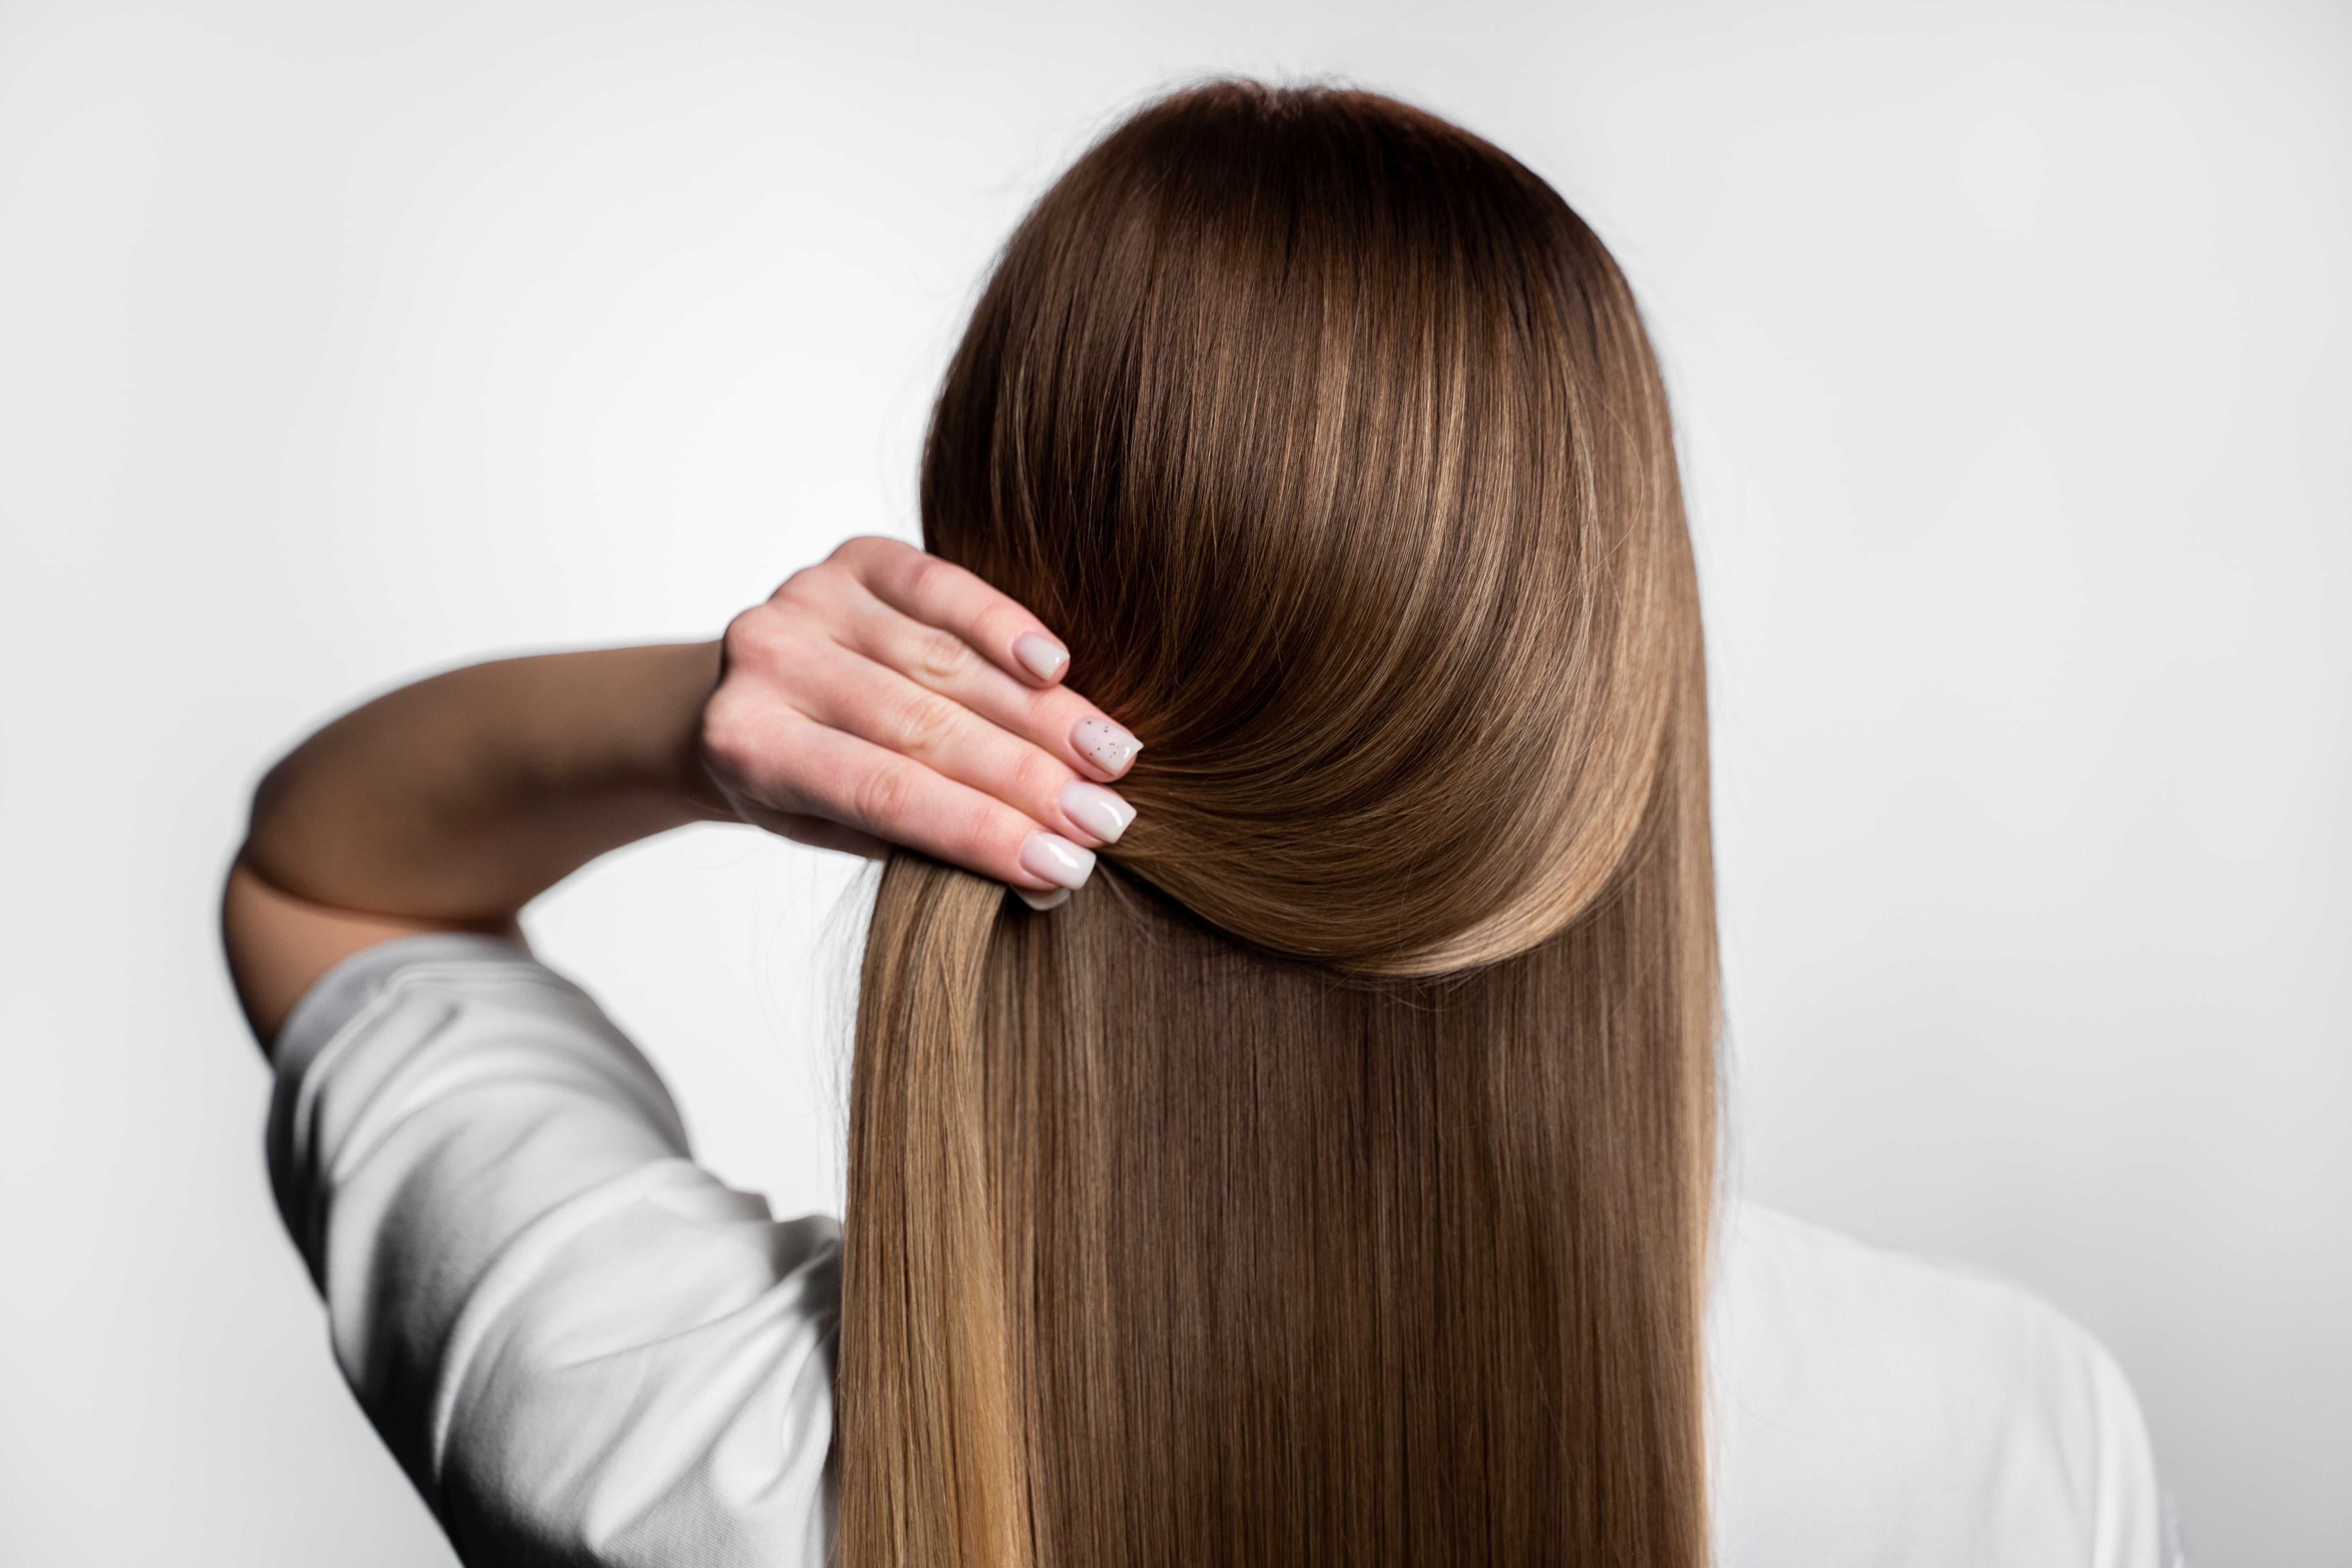
How to achieve a perfect straightening at home with Be Natural's Brazilian straightening

Do you dream of a perfect smoothing at home that leaves your hair soft and shiny? With the Be Natural formaldehyde-free Brazilian smoothing kit, that dream is closer than ever. Our paraben-free, formaldehyde-free, and sulfate-free formula, enriched with hyaluronic acid and hydrolyzed keratin, offers a smoothing treatment that does not damage and provides spectacular shine. In this article, you will discover the step-by-step process to achieve a flawless result from home, along with application tips and the multiple benefits of our Brazilian smoothing.
1. Preparation: The foundation for a professional result
Before applying the formaldehyde-free Brazilian smoothing kit, make sure your hair is completely clean and free of residues. Wash your mane with clarifying shampoo—ideal for removing product or oil residues—and dry it until it is approximately 80% dry. This preparation allows the active ingredients of the treatment to penetrate better, enhancing their smoothing and softening effect.
The secret to a professional finish begins with this stage: only then can hydrolyzed keratin and hyaluronic acid work effectively, reducing volume and controlling frizz from root to tip.
2. Correct application of the Be Natural Brazilian straightening kit.
This is the heart of the process. The Be Natural Brazilian straightening kit includes everything necessary for a safe and effective treatment. Below, we explain each step:
- Divide your hair into small sections. This facilitates even application and avoids untreated areas.
- Apply the product with the brush leaving 1cm free from the root. Start from the area closest to the nape. Make sure each section is saturated with the formula without excess.
- Let the treatment act for 15 minutes. This period is key for the active ingredients to penetrate deeply. At the end of the exposure time, remove the excess with a comb.
- Dry the hair with a brush and hairdryer until it is completely dry.
- Iron each section 8 to 12 times, at a temperature between 200 and 230ºC. This action seals the cuticle and fixes the straightening, providing that characteristic luminous shine.
- Wash the hair with the post-treatment shampoo until all residues are completely removed and apply the conditioner, leaving it on for 5 minutes.
- Finally, dry the hair again..
Thanks to its formaldehyde-free formula, this Brazilian straightening is safer, in addition to being free of parabens, sulfates, and salt. It is ideal for those looking for a powerful treatment without compromising hair health.
3. Benefits of Brazilian straightening and some tips for a professional finish.
The formaldehyde-free Brazilian straightening from Be Natural not only straightens but also deeply hydrates, provides shine, and combats frizz, keeping hair loose, soft, and manageable for longer. With its combination of hydrolyzed keratin and hyaluronic acid, it nourishes without weighing down.
Tips to prolong the effect:
- Use sulfate-free and salt-free products in your daily routine.
- Avoid frequent washes: try to space out washes or use dry shampoos to maintain the straightening.
- Protect from heat: although the straightening already protects it, using a heat protector for hair when using a flat iron or hairdryer prevents extra wear.
- Apply nourishing masks weekly to replenish hydration and keep your hair silky and manageable.
This kit is your best ally for achieving a perfect straightening at home with professional results. If you follow a proper preparation, apply carefully, and take care of your hair after the treatment, you will enjoy a smooth, shiny, and frizz-free mane for months.


